by Ferne Johnson
(from the 1993 Fall issue of The American Trakehner)
Your preparation should start with the young foal. Handle it daily and check its feet to see how it stands. Have your farrier make corrections to the feet with a rasp, if necessary, starting at about six weeks. Teach the foal to walk on a lead beside his mother on the way out to the pasture each day and teach it to tie. Make sure it is also getting good quality hay and grain and is on a good worming program.
For weanlings, daily handling continues to be important and they should be taught to lead quietly and to stop and stand (even if it’s only for short periods). Make sure to praise the youngster when he does what you want and to correct him with a firm, but reassuring voice. If he is nervous, verbal and physical contact can be calming.
At about ten months, I attach a Chifney bit to the halter, maybe wrapped with latex bit wrap, so he becomes accustomed to something in his mouth. When he has this on he knows it is work time, not play time. I won’t use an actual bridle until he is a yearling. Practice walking, stopping and standing.
Remember that youngsters don’t have a very long attention span; don’t expect perfection the first time out. They will get bored with the whole thing if you ask for too much too often and for too long. Keep their attention, if necessary, by walking in between setting them up for inspection. Doing the basic ground work will get them to trust you and you will be better partners in the show ring.
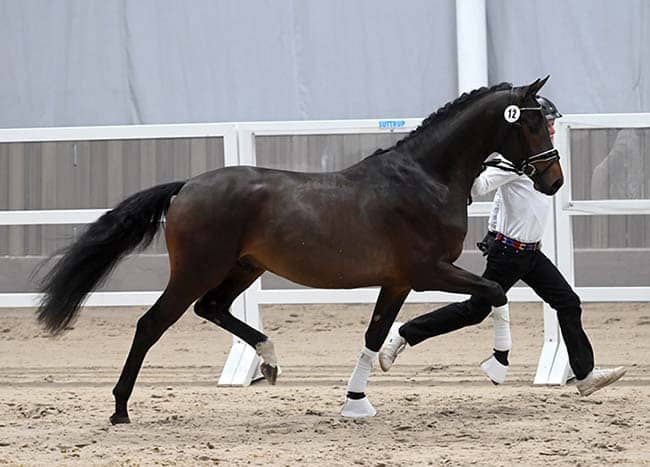
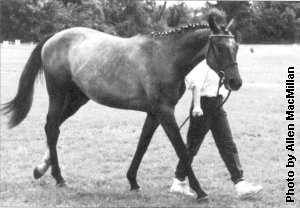
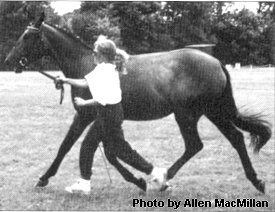
I will teach the young horse to jog (a slow trot) eventually, but by far the judge will spend most of his time looking at your horse’s walk. A relaxed, long-striding, tail-swinging walk will get a judge’s long look and this will equate into a relaxed, long, low, easy-moving trot (this trot is much less forward than the trot used in dressage breeding classes).
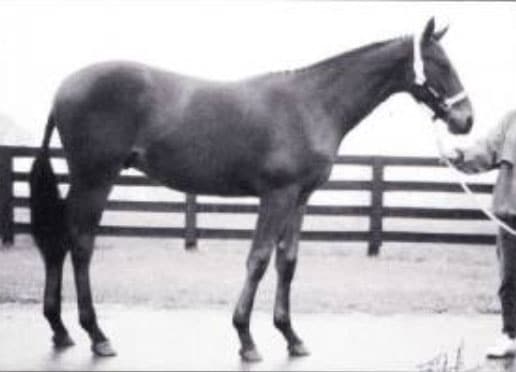
The correct hunter pose is an “offset” stance, where the horse’s foreleg nearest the judge is slightly ahead of his other foreleg and the horse’s hindleg nearest the judge is slightly behind his other hindleg. The legs nearest the judge create a rectangle, which gives the best slope possible to the shoulder and the best possible look to the hindquarters. The foal should hold his head and neck level to the rest of his topline, stretch his muzzle out slightly and have an alert expression with ears forward.
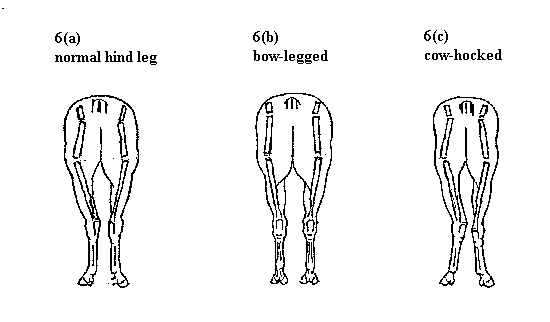
It is important that his shoulder appears to have a lot of angle and that his feet are positioned as straight as possible when you look at them from the front or the rear (not toeing in or out or cow hocked).
If you have the time and energy, walking the youngster thirty minutes to one hour a day in the pasture, will aid greatly in building up the horse’s body and leg muscles. This should be started about six weeks prior to the competition to be attended.
To achieve the best coat condition, a combination of grooming and feeding supplements should be used. Groom him a few minutes each day, which includes making the mane lie over to the right side of the neck in preparation for braiding.
Feed a balanced diet, which includes either wheat germ oil, corn oil, ground flaxseed, cottonseed oil or some equivalent – the oil helps give a nice “bloom” or shine to this coat. Also, to avoid sun bleaching your horse’s coat, keep your horse inside during the day and turn him out at night.
Try to expose you horse to trailering and show atmosphere before you actually plan to show him. Take him to a small local show just to watch, or at the very least a friend’s barn, so he can get used to the trailer ride and a new place. The more positive experiences he has, the more unflappable he will be in the long run. Some judges place a lot of emphasis on temperament and this practice will help you a lot toward impressing them.
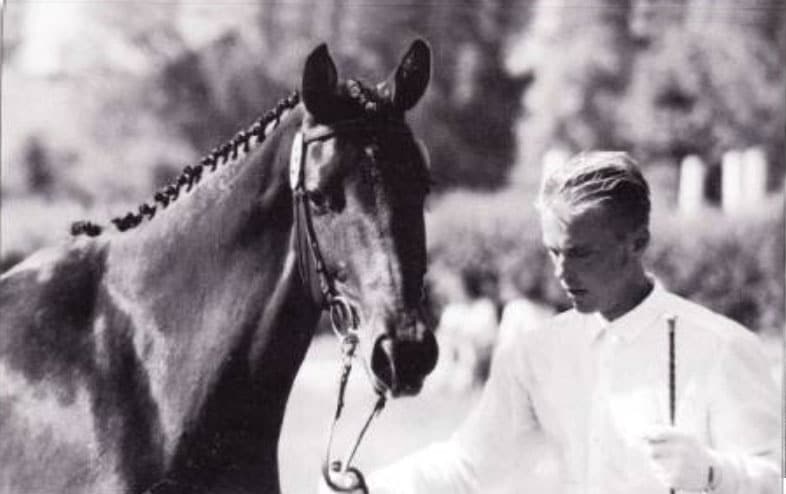
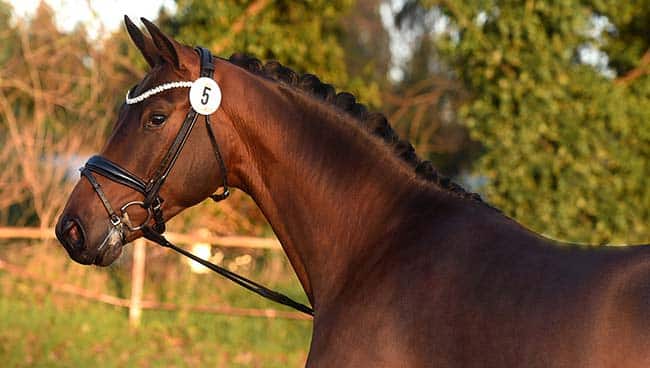
Also, get your horse used to clippers and having his mane pulled. For the show, give him a show hunter clip (face and maybe legs) and have his mane and tail braided (on the morning of the show) with yarn the same color as the mane and tail. There should be many small, flat braids in the mane, the forelock should also be braided and the tail should be braided down to the end of the tail bone. The feet should be picked out and polished and the coat should be shiny and clean. Before leaving for the show, wrap the tail with a damp tail-wrap for shipping and up to the time you enter the ring. This helps secure loose hairs and keeps the braid job from being rubbed out.
Your halter or bridle should be clean and well fitted. Weanlings can be shown in a leather halter and lead shank (no chain), but yearlings and older should be shown in a bridle. Full cheek, D-ring or O-ring snaffle bits are all acceptable to use in showing hunters on the line.
There isn’t really any prescribed attire for showing hunter babies. Either casual sportswear-type pants and shirt or hunt seat habit is appropriate. Your clothes should be neat, clean, comfortable and not take anything away from the horse.
Another note, it is best to not have shoes on yearlings, but if the horse’s feet are not holding up well and he must be shod, make sure that the farrier uses light aluminum plates (the three-ounce type that they use for racing). You want as little weight as possible, so as not to add knee action to the horse’s movement (they want to see long, low, “daisy-cutting” strides in the hunter ring).
When contemplating showing in “hunter breeding” classes, remember it is a lot of work and preparation for what ends up at a majority of the shows to be just one class; if you are lucky, there may also be a “Best Young Horse” class. If it is strictly a breed show, then a few more classes may be available, possibly before more than one judge.
When all of your preparations are done and you and your horse look the best your can, enter the ring when called with a positive attitude. If at all possible, try to be the first or second entry in the ring. If the judge is already in the ring, the first couple of horses will most likely get a longer look from him or her. Keep your horse walking forward and be relaxed, yet aware of what is going on around you. Try to know where the judge is at all times.
Usually, instructions as to where you are to move your horse will be given to you prior to entering the ring or by the judge or the ring steward while you are in the ring. You will probably be asked first to set your horse up on the line for inspection. Do as you are asked when you are asked and try to always show your horse at his best while in the ring, even if the judge may be looking at another horse.
The horses will be asked to line up and jog individually. When it is your turn to jog, ask your horse to move ahead at a walk first, then ask him to move into a relaxed but forward trot, keeping the reins long and looped. Stay slightly ahead of your horse so the judge can see the horse’s legs moving. Usually the jog is only about half the length of a ring, down a straight line. Ask the horse to come back to a walk and continue at a walk as directed by the ring steward or judge.
After the walk and jog, you will set your horse up on the line for inspection again – get a pose you like and ask him to “model” (the hunter ring terminology for “set up and look alert”). With some horses who are nervous or fussy, you may find it helpful to walk them in between posing them. Walk them in a small circle and set them up again when the judge is one or two horses away. This way they don’t have to hold their pose for a long time, and they will hopefully stand better when the judge is looking. The judge will probably then ask the horses to make a new line in the order that he or she has placed them. Then the class will be pinned. Good luck!

