by Erin Brinkman & Reiner Seemann
(from the Summer 1997 issue of The American Trakehner)
Excellent in-hand presentation requires many months of preparation and analysis of the horse’s body type and personality to design the best program for you and your horse. Handling from the ground brings you one-on-one with the horse and establishes a mutual, trusting friendship. As the horse learns to react to your body language, your voice and gestures begin to make an impression. You in turn need to study the character and body language of your horse so that your reactions are in tune. However, to present the correct picture, you must be the dominant partner, much like the lead mare of a herd, imparting confidence in the leadership of the handler.
This will not happen if the amateur handler does not carefully select bloodlines and personality to match his or her own capabilities. Due to the very select breeding of the Trakehner horse for over 250 years, you have the ability to examine an incredible pool of breeding information – for size, type, and personality traits, which will aid in finding the Trakehner horse most suited to your own personality. Disregard the pretty head or fancy coloring that might make a first, appealing impression.
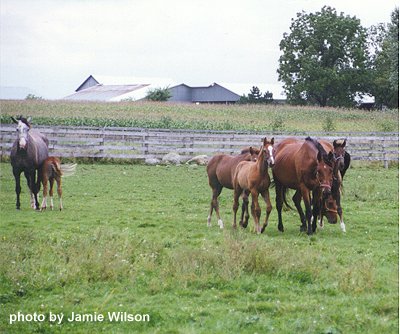
After evaluating your needs in a horse, you need to find a way to successfully communicate with it. The initial contact of horse to human is extremely important to the future relationship. A foal raised without proper human contact will be much more difficult than one properly imprinted. Along with this, a horse must be raised properly. They must have big fields to run in, buddies to play with, and a “bad Aunt Lily” who will teach them their boundaries.
In the first week of life we teach the foal to accept a halter; to pick up each foot, and to lead calmly, without disrupting the bonding of the foal and its dam. As the foal grows, we teach it to tie quietly and gradually lead it away from other horses, including its mother, for short distances. However, we do not encourage the showing of weanlings without the presence of their dams. A foal should show in hand with such confidence that it looks out to conquer the world, but at that age this can only happen if mom is within sight, offering protection.
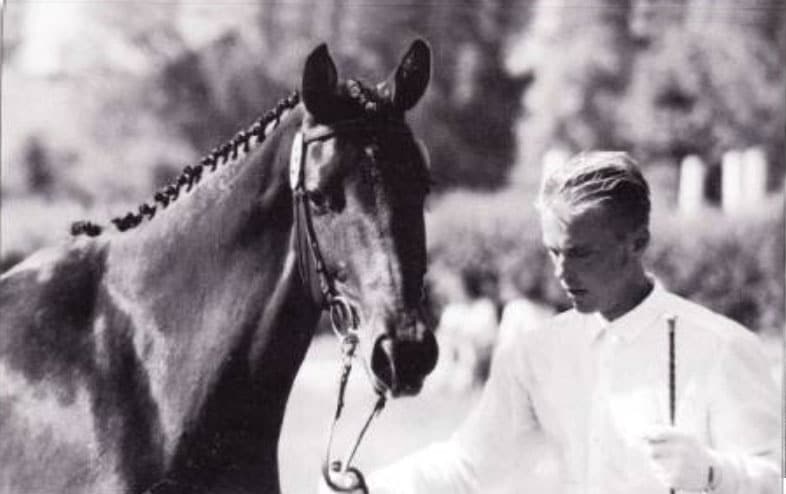
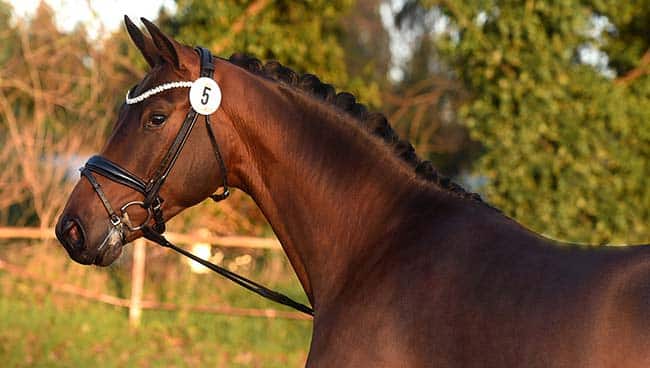
Good grooming is very important for a proper visual impact. Braiding is not only a requirement, but offers you the opportunity to visually lengthen or shorten the neck, or to enhance the crest. A mane braided with many small braids will make a short neck appear longer, wherein fewer, but bigger braids have a shortening effect. Braids that have a “button” appearance, standing up from the neck, will heighten the look of the crest. Broodmares should have their tails braided to enhance width, but the tail should not be cut off to ensure the natural hygienic protection and untrimmed tail offers. Braiding should end just below the widest point of the hip, viewed from side to rear, with the balance of the tail as full as possible. The tail should be trimmed square, but not shorter than the fetlock. Hooves should be treated with an oil or other hoof enriching product to deepen the color. Keep in mind that hooves that are too shiny or too blackened draw unnecessary attention to them.
Breed shows in Germany do not approve of unnatural trimming of the head and ears, including whiskers, which protect the horse’s face. However, baby oil, or another safe equine cosmetic product should be used around the eyes and muzzle to bring them into focus.
Tack should always compliment your horse in color and most important – fit. You can enhance your horse’s head by using a certain style of halter or bridle that compliments. The finer the head, the narrower the leather should be. On a more coarse or longer head, nosebands help shorten it, improving appearance.
When you enter the ring for your class, a foal enters with the handler with a clip lead rather than a chain, standing “open” as much as possible. After this, the halter should be removed with the foal shown freely by its dam’s side who should be trotted slowly. The focus will be on the foal who is also encouraged to trot. Keep in mind that you have little influence on foal behavior, so work at home to be relaxed in the ring, focusing on a baby that is easily caught. The final round requires a foal calmly leading beside its dam, showing as long and relaxed a walk as possible. [Ed. note: This is how it is done in Germany. In North American breed shows foals are not shown loose.]
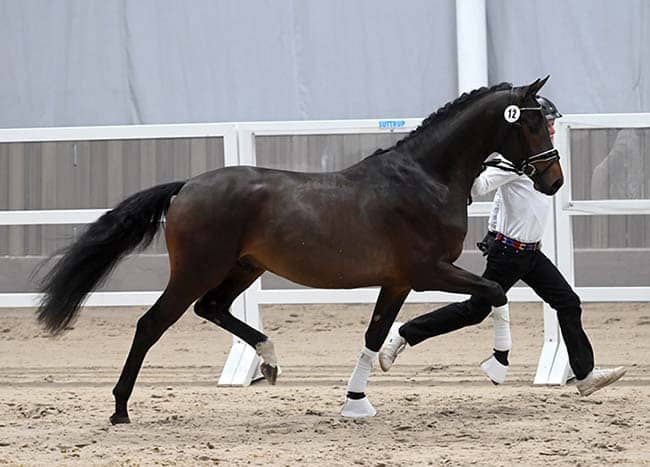
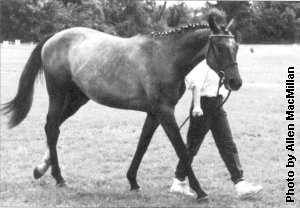
Showing a mature mare or stallion in hand – for her lifelong grading or his breeding approval – requires lengthy development of stamina and stride – for both of you! A short-legged handler cannot show the full gaits of a long-striding horse without tremendous effort on the part of the handler. Start with long walks, staying at the shoulder of the horse and making each stride as long as possible within the natural rhythm of your horse. It is important to expose your horse to as many unusual objects as you can find to prepare for the excitement of competition. This helps with the bonding as well as the endurance and trust between you. Gradually increase the length of your stride without quickening the pace. Ground poles will help the regularity and reach and can be spread as the walk improves. The walk should be presented as long and relaxed as the horse can offer. Often it is the walk that will be the deciding factor in the judge’s final decision to pass or fail you. The walk cannot be emphasized enough. A pace or jig is unacceptable.
Always practice with the horse bridled, working from the left side, keeping the reins in your right hand, whip in your left. The horse must move forward with the reins in a slack contact, the end of the reins looped over your hand for security and neatness. The horse must be well prepared in acceptance of the whip. Test the horse’s acceptance of the whip with light touches. A touch at the flank or leg should mean, “Go forward” without undue excitement. Raising the handle of the whip in the direction of the head must mean the horse should turn away from the handler. All turns should be to the right, away from the handler, using your voice for each command.
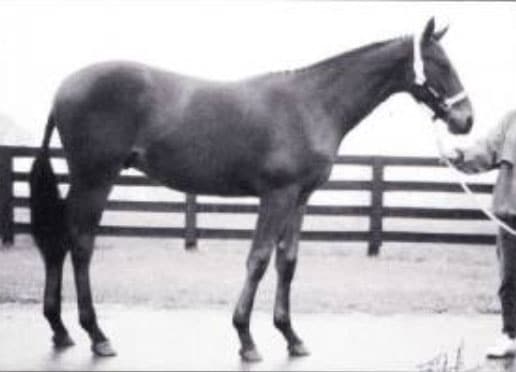
First impressions can charm a judge – so enter the ring with a smile! A confident horse and handler will stride forward at a walk upon entering the ring, then stand the horse in an “open” frame in front of the judge(s). The standup should always look uphill. Picture a square halt with the front legs standing in a straight line under the withers and the hind legs under the hip bones. To obtain the open frame, the front leg facing the judge should remain under the withers with the outside front leg slightly back. The inside hind leg should be stretched slightly back with the outside hind leg remaining under the hip bone. This of course is the ideal. You must judge for yourself which frame best suits your horse.
To correct the stance, always move your horse forward. If you run out of room, just turn around quickly and try once again. But remember, a nice and not so perfect stand is better than a time consuming, constant correction to make it ideal. Once standing, you should step away from the horse holding slack reins in both hands. Your whip can be raised slightly in front of the horse to prevent forward movement. Allow your horse to look around a bit to show off his or her radiance, but you should stay out of the picture as much as possible.
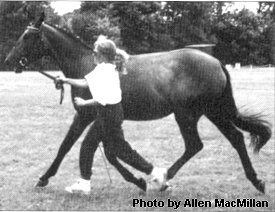
After the standing presentation, you will be asked by the judge(s) to trot on the triangle. Use your practiced, trained voice command, with an encouraging touch of the whip. (At home we not only walk with our horses, but also run with them. We also take aerobic classes and run marathons, so we are well prepared for the speed and length of our horse’s trot.) As in the walk, you should strive for synchronicity. Begin with a slower trot that quickly builds and grows longer with the horse’s stride. Since most in-hand showing is on the triangle, you will show a transition to walk before and around each corner. This can be accomplished by practicing many slow-down and speed-up transitions until your horse learns to stay with your body and not to pull into the walk or trot. Working along a fence line will help keep the horse’s body straight so that no time is wasted between the walk-trot transition, making it smooth and enhancing both gaits.
The trot is expected to show utmost forward movement and regularity while covering as much ground as possible. This can only be accomplished if the handler is able to run with a long stride and slack rein. Should the horse break into a canter, do not jerk on the reins but ask your horse to come back to a trot with your practiced, trained voice command and continue.
After the trot round, there will be a long walking round where all horses will be ranked and the marks you earned will be announced. Just keep in mind that, while walking, you are still being judged – keep a big distance to the other horses for security reasons and to help set your horse apart for the others. If you find you are behind a slow walking horse, stop for a few seconds in the least conspicuous area and then continue with your ground covering walk.
The subject of in-hand preparation could be discussed in much greater length and detail. We hope the information we’ve provided will help guide you in the right direction to win in-hand classes. We wish you much success and believe you will find the Trakehner to be trustworthy, sensitive and reliably honest. Good luck!

